Introduction & Background
We are happy to announce the release of the Microsoft Extractor Suite (GitHub, Documentation)
If you prefer watching video’s we also did a livestream on the tool, you can watch it on YouTube.
The Microsoft-365-Extractor-Suite does not exist anymore and is replaced by the Microsoft Extractor Suite. We decided to rename and create a new tool for the following reasons…
Although the Microsoft-365-Extractor-Suite effectively collected the crucial Unified Audit Log in BEC investigations, there are numerous other valuable sources of evidence that should be considered and gathered throughout the investigation process.
So, we decided to streamline the process of collecting evidence in Microsoft by creating a tool that simplifies the acquisition of all necessary sources of evidence. Some of these sources are not Microsoft 365 so that’s why that name didn’t work anymore.
What is new?
A significant improvement has been made by transitioning from a single PowerShell script to a module containing 16 standalone functions. This modular approach enhances the tool’s usability and flexibility by allowing for more granular control over which functions are used, as well as making maintenance and updates easier to manage.
Also, in addition to the Unified Audit Log, the Microsoft-Extractor-Suite now includes several other data sources:
· Admin Audit Log
· Mailbox Audit Log
· Mailbox Rules
· Transport Rules
· Message Trace Logs
· Azure AD Sign-In Logs
· Azure AD Audit Logs
· Registered OAuth applications in Azure AD
Getting Started
Download the package from GitHub and open PowerShell
Install the following PowerShell modules:
Install-Module -Name ExchangeOnlineManagement,AzureADPreview
Import the Microsoft-Extractor-Suite module
Import-Module .\Microsoft-Extractor-Suite.psd1
After you’ve done that you should see the following…

Next you can get an overview of the available functions with:
Get-Command -Module Microsoft-Extractor-Suite

If you want to do something you first need to authenticate with one of the Connect-* functions. Pick the one that fits your use case for example to acquire Azure Active Directory data we first need to run Connect-Azure to acquire the Unified Audit Log we first need to run Connect-M365.
Acquisition
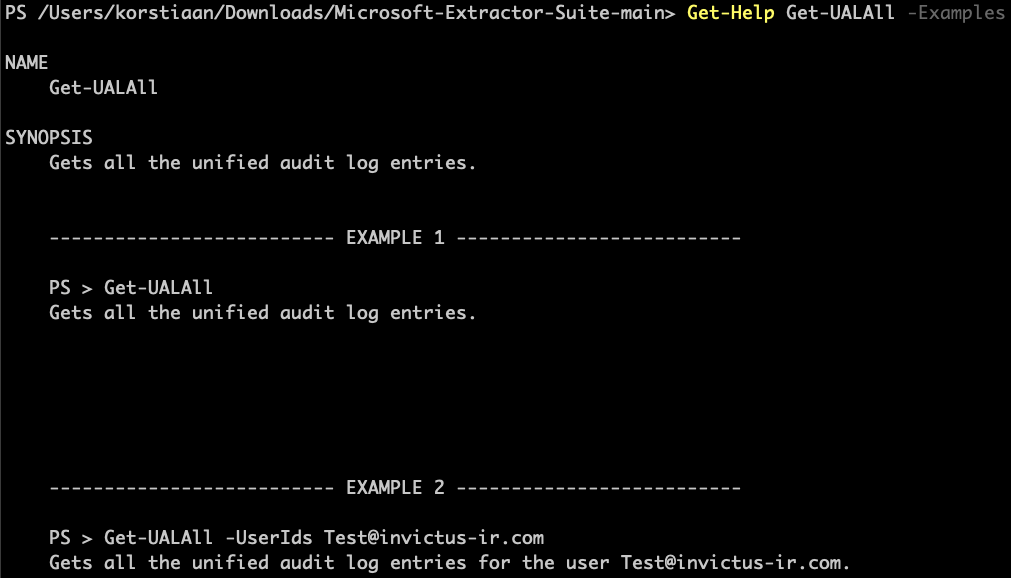
Once connected, you can utilize one of the 12 Get-* to acquire the necessary evidence. For the full documentation of each command we refer to our documentation page, you can also run Get-Help <insert-command> to get more information and examples.
Get-Help Get-UALAll -Examples

Most of the functions can be run with parameters that enable users to filter the output based on specific dates or user accounts. For more information on the functions, as well as examples and supported parameters, please refer to our documentation.
Examples
Some examples based on scenarios you might encounter as part of your incident response.
Scenario 1 — Acquire within a certain timeperiod and save it as a json file
Connect-M365
Get-UALAll –StartDate 10–04–2023 –EndDate 20–04–2023 –Output json
Scenario 2 — Acquire all logs for a specific user with a custom interval
Connect-M365
Get-UALAll -UserIds attacker@invictus-ir.com -Interval 10000
Scenario 3 — Show all mailbox rules in your environment
Connect-M365
Show-MailboxRules
Scenario 4 — Acquire AD logging
Connect-Azure
Get-ADAuditLogs
Get-ADSignInLogs
The output will be stored in the Outputdirectory.
Future work and more
We are planning to add even more log sources and options to the Microsoft-Extractor-Suite. If you want to help please open a request on GitHub and if you see room for improvement please let us know.
Also if you are in need of any IR support where you are planning on using this tool please reach out to cert@invictus-ir.com or go to https://www.invictus-ir.com/247
